How to Setup an Email Account On Your Android Phone
The setup guide provides instructions and screenshots tailored for the Gmail app, the default email client on most Android devices.
Adding your account to Gmail is a simple process that can be done by following the setup guide located in the Settings → Migration screen. Navigate to the Apps & Setup guides tab, then select the Android option under the Setup guides section. From there, choose the Gmail option and follow the onscreen instructions to finalize the setup.
Below are the general setup instructions.
Open the Gmail app.
- If you don’t already have an account set up, the Welcome to Gmail screen appears. Tap Skip, then Add an email address.
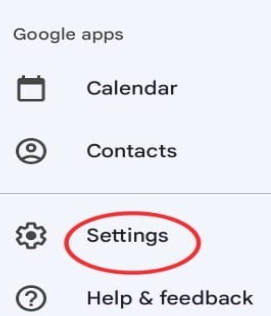
- If you have an existing Gmail account, access the application’s menu, navigate to Settings, and proceed to select Add Account.
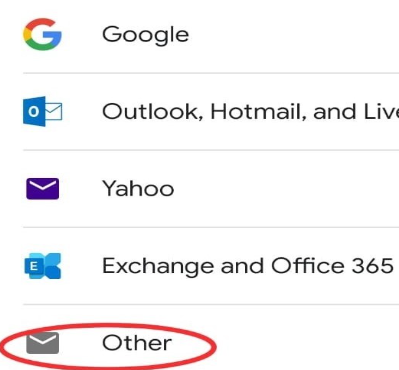
- On the Set up screen, click on Other.
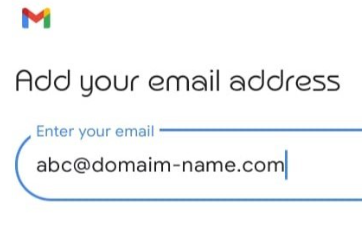
- Enter your email address including the domain and click on Next.
Now click on “manual set up”
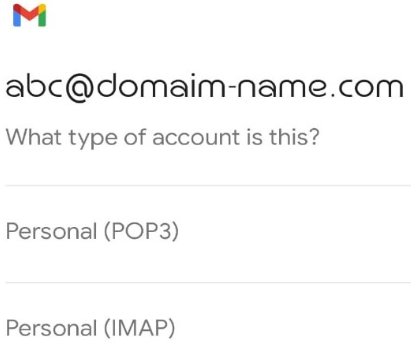
- You will get 2 options POP and IMAP, click on Personal (IMAP).
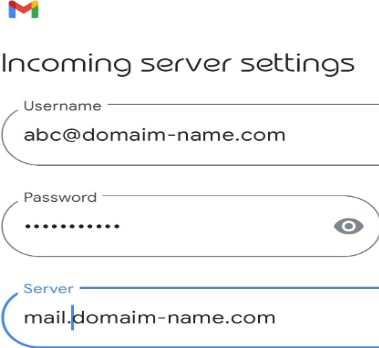
- Enter your email password and then Next.
- Enter the server settings (hostname and port) for the incoming/outgoing mail server.
Hostname (outgoing/incoming server): mail.domain-name SMTP/Outgoing Server Port: 25 or 587 or 465 (SSL/TLS) POP/Incoming Server Port: 995 (SSL/TLS) IMAP/Incoming Server Port: 993 (SSL/TLS)
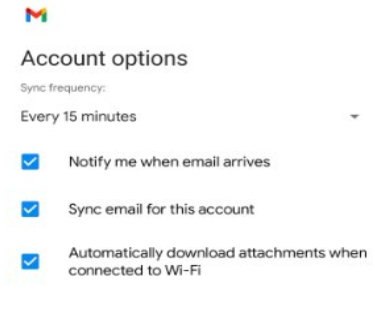
- Choose our synchronization and notification settings and tap Next.
Enter your account name. You’re ready to go!
- Choose our synchronization and notification settings and tap Next.

